Weekly Update, Tuesday, July 6, 2021
HAPPENING THIS WEEK IN MY CRAFT ROOM
Note all times are in Pacific Time
Tuesday
Weekly Update 8 am
Live on YouTube at 10 am CLICK HERE for the link - Collage Card
Wednesday
Monthly Club Stamping In Person and Virtual
Thursday Live Facebook Stamping - VIP Group
Hoping to head to our cabin for a couple of days
Friday Late Night Stamping - VIP Group
At the cabin
Saturday
At the cabin
Sunday
On our way home
Monday Live Facebook Stamping - VIP Group
Live stamping tonight at 7 pm and a contest alert
CURRENT PROMOTIONS FROM STAMPIN' UP!
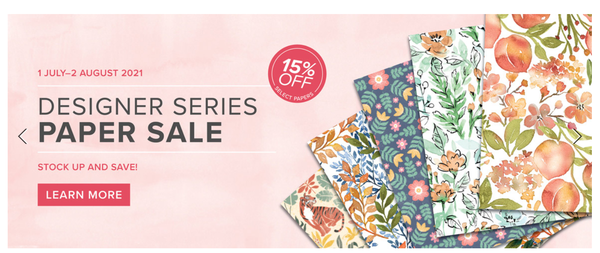
DESIGNER SERIES PAPER SALE
From now until July 31st, enjoy 15% off select Annual Catalogue designer papers. Regular price is $15.75, discounted price is $13.39!
CLICK HERE to download a flyer of what is available!
Contact me to be included in the group orders I send in each week.
The Designer Papers that are included in this sale are:
Beauty Of The Earth
Bloom Where You're Planted
Hand-Penned
In Good Taste
In The Wild
Pansy Petals
Sweet Symmetry
Tidings Of Christmas
You're A Peach
CURRENT HOST CODE AND BIRTHDAY GIFTS
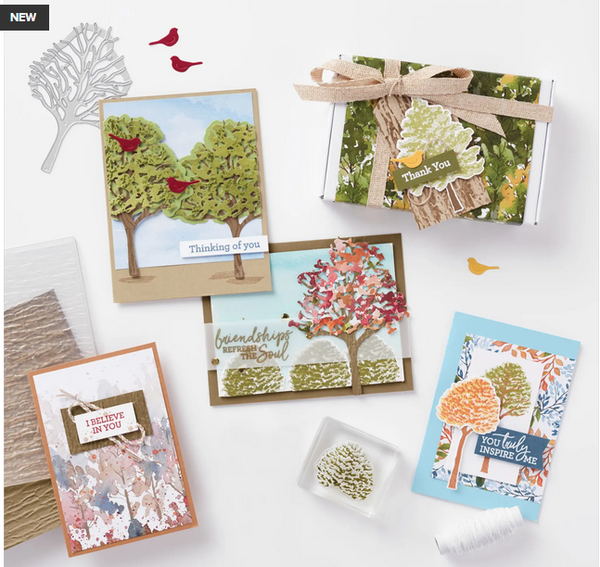
The new draw board goodie bag consists of the Beauty Of The Earth Suite (pages 10-11 in the Annual Catalogue) and some Adhesive Sheets!
Good Luck Everyone :)
The new Host Code (June 12 to July 9th) is ...... YCRTU7E
I will be creating a new host code on July 9th. Check out my blog CLICK HERE and see the new code on the right hand side, just scroll down a bit.
I appreciate it when you use the host code as it allows me to continue to do the Draw Board. That is where I get all the goodies for the prizes!
Once you hit the $200 level, your order qualifies for Stampin' Rewards and you earn FREE stuff!
CLICK HERE to go to my online store and place your order, or email me and I am happy to place the order for you.
Good Luck!
CURRENT NEWSLETTER
I am excited to share the July Newsletter with you!
The August Newsletter will be included in next week's Weekly Update
(I hope lol).
The July Newsletter has calendars with dates up to the end of December.
Please note all dates and content are subject to change.
VIRTUAL CLASSES DURING COVID
I will begin offering In Person classes again in September! I will also be doing the same classes online.
And all of my monthly classes (clubs excluded) are included in the Monthly Tutorials Subscription.
Stay tuned!
I will be scheduling the Poinsettia and Snowflake classes we missed out on last November soon.
JULY EVENTS
Check out my JULY NEWSLETTER for details of events during July, as well as teantative schedules up to the end of December.
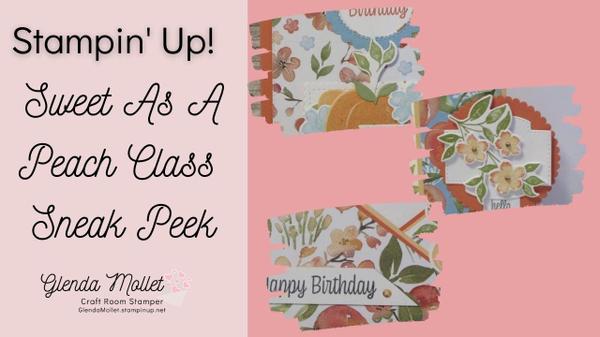
Sweet As A Peach Class
Have you ever done the Scratch 'n Sniff Technique? Well one of these cards has it on it! A list of supplies do do the class virtually will be included in your recipes.
When: Wednesday July 15th
Time: 1 pm In Person, 7 pm Virtual
(In person space is limited to a maximium of 4 stampers)
Price: $15 - 3 card kits plus class local pick up
RSVP by July 4th Closed
Price: $15 - 3 card kits plus class out of town (postage included)
RSVP by June 27th Closed
Tutorial Only Option: $5 with invitation to join in on the Virtual Class
RSVP by July 15th
This class will be part of July's Monthly Tutorial Subscription!
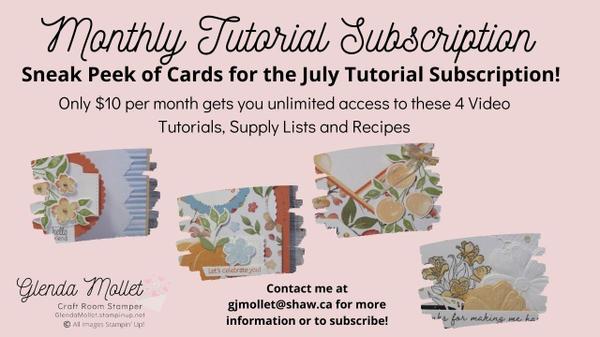
MONTHLY TUTORIAL SUBSCRIPTION
I have officially launched my In My Craft Room Monthly Tutorial Subscription!
The very first Monthly Tutorials - June Edition - went out last week. Each Subscriber received pictures, recipes and exclusive video links to 4 cards. I was so excited to share these with my subscribers, and I have had positive feedback.
Those who were interested requested access to the Virtual Class Room for the Pansy Petals Class and we are going to stamp together virtually!
Here's what one subscriber said:
"Thanks so much Glenda. I love the cards and look forward to trying them out. You make beautiful cards and I am glad that I found you on your Zoom, Facebook and Blog. I am enjoying all of your cards and videos. You really have a great talent!" - Barbara
EMAIL ME for more information, or to subscribe.
Payment is due for the July Tutorials Subscription now. Please pay by July 1st to make sure you get the next set of tutorials!
Kelli Mcconkey
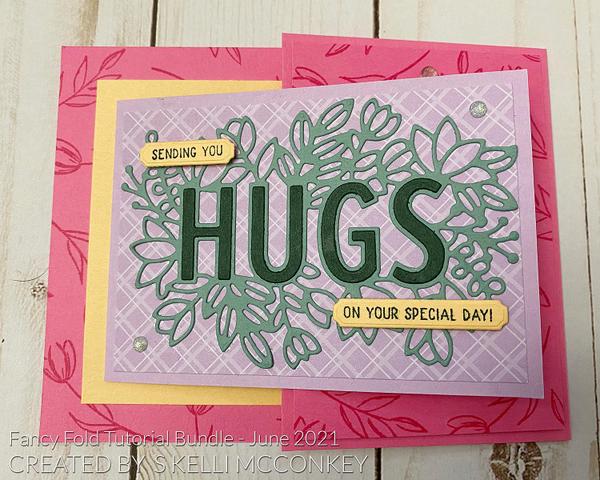
CARD TUTORIAL
I have another card from the Fun Fold Tutorial Collaboration that I participated in. This one is by Kelli Mcconkey.
Enjoy!
Supply List:
Sending Hugs bundle
Ink: Evening Evergreen
Genial Gems
Instructions:
- Cut your cardstock for your project as follows:
- Polished Pink 8-1/2” x 4-1/4”, score at 5-1/2”;
- Polished Pink 4” x 2-3/4”;
- Pale Papaya 4-3/4” x 3-1/2”;
- Fresh Freesia 8-1/2” x 3”, score at 4-1/4”;
- Fresh Freesia In Color DSP 4” x 2-3/4”;
- Basic White 4” x 2-3/4”;
- Soft Succulent 4-1/4” x 3”;
- Evening Evergreen 3-1/4” x 1-1/2”;
- Pale Papaya 2” x 1-1/2”
-
- Start by stamping the tulip and leaf images from Sending Hugs Stamp Set in Polished Pink Ink all over both pieces of Polished Pink Cardstock to create a background. Only stamp on one side of each piece of cardstock.
- Using Polished Pink Ink, stamp two tulips in opposite corners of Basic White Cardstock.
- Stamp sentiments: ‘Sending You’ and ‘On Your Special Day’ in Evening Evergreen Ink onto the smaller piece of Pale Papaya Cardstock.
- Attach the Soft Succulent Cardstock and the Evening Evergreen Cardstock to an Adhesive sheet.
- Die-cut the Large Hugs Die out of the Soft Succulent piece and the Small Hugs Die out of the Evening Evergreen piece.
- Die-cut the sentiments out of the appropriately sized frame dies meant to fit each one from Pale Papaya stamped cardstock.
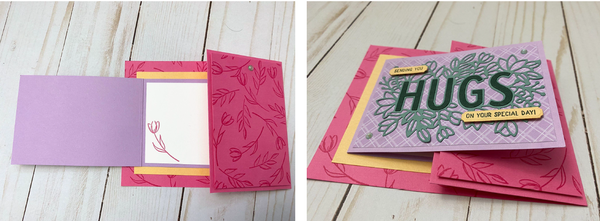
- Time to assemble.
- Fold the stamped Polished Pink Cardstock piece on the score line towards itself (meaning the
- stamped images touch), and adhere the smaller stamped piece of Polished Pink Cardstock onto that unstamped part
- that you just folded over using Stampin’ Dimensionals.
- Open fold back up so you can see the stamped images again on the larger piece of Polished Pink Cardstock. On the
- section that is larger, center and adhere the large piece of Pale Papaya Cardstock.
- Fold the Fresh Freesia Cardstock on its score line and burnish with a bone folder. Make sure the opening is on the
- right side and adhere the Fresh Freesia DSP to the outside of it. Now open it, and adhere the Basic White Cardstock
- that is stamped with the Polished Pink tulip images inside.
- 9. Making sure the Polished Pink Cardstock Base is open where you can see the larger stamped section with the
- adhered Pale Papaya Cardstock on the left, adhere the Fresh Freesia cardstock (opening still on the left side,
- although closed) to the Pale Papaya piece centering it there.
- Peel off the adhesive sheet backing from the Evening Evergreen HUGS word and stick it to the Soft Succulent Large Die-cut making sure to line up the letters so that there is a small border around them all.
- Now, peel off the adhesive backing to the assembled Soft Succulent die-cut, and adhere it to the Fresh Freesia DSP.
- Open up the Fresh Freesia piece that has the HUGS die-cut on it, so that you can see the Basic White Cardstock that is stamped with the Polished Pink tulips.
- Now, fold the Polished Pink flap towards the Basic White Cardstock.
- Next, close the Fresh Freesia piece to overlap the Polished Pink Cardstock.
- Finally, using Mini Stampin’ Dimensionals attach the two Sentiments to the HUGS die-cut piece as shown in the
- photos.
- Lastly, embellish with the green Genial Gems.
Hope to see you soon, In My Craft Room!
Stampin' Smiles
Glenda
|
|
|